Are you a passionate collector, an occasional antique lover, or have you recently acquired a vintage metal piece? No matter your enthusiast level, knowing how to clean and maintain these treasured objects is essential to preserve their beauty, structure, and historical value.
This guide will walk you through all the tricks of the trade when cleaning antique metal: natural remedies, mechanical solutions, and DIY methods. Safety precautions and maintenance tips are thrown in for good measure so your antique metals keep shining brightly for years.
The Importance of Cleaning Antique Metal

Regularly cleaning antique metal pieces has many benefits. Let’s briefly discuss the most important ones.
Preventing and Removing Rust
Rust is the bane of antique metal items, especially those made of iron and steel. Iron oxide (rust) is formed when iron or its alloys (like steel) are exposed to oxygen and moisture for long periods, which can be disastrous! Rust can quickly corrode the metal’s surface, creating deep pitting and severe structural damage if it isn’t taken care of fast.
Regularly cleaning your antique metal can help spot the first sign of oxidation and take preventive measures! If rust’s already set in, plenty of remedies can help, like scrubbing with a wire brush, using special rust removers, or natural ingredients, including vinegar and lemon juice.
However, be careful; some methods might be too rough for delicate antiques, so it’s worth consulting a professional before you decide what to do.
Preserving Aesthetic Appeal
Antiques can lose sparkle over time due to tarnish, dust, and grime build-up. But with regular maintenance, you can bring them back to life. Just remember that you should treat delicate pieces with care! You don’t want to be too harsh or risk removing the item’s patina from its surface – this type of natural fading adds charm and even value to an antique metal item.
Protecting Historical Value
Protecting the historical value of antiques is essential.
Antique metal items often have historical markers, like maker’s marks, hallmarks, or inscriptions, that can be hidden by dirt, tarnish, or rust, making it tricky to pinpoint their origin or age. But if you clean them regularly, those marks will be visible. Plus, it’ll maintain the item’s historical value.
Preventing Further Damage
Nasty dirt, grime, and other corrosive elements are a real bummer if left to rot, etching away at the surface and leaving unsightly marks or discoloration that won’t wash out.
But regular cleaning can help shine your belongings, preventing potential disaster down the line. So, it’s smart to take care of those pesky contaminants before they do any irreversible damage.
Enhancing Longevity
Caring for antique metal items is crucial if you want them to last. Regular cleaning and maintenance will remove harmful rust, dirt, and grime that could damage the metal over time, ensuring these pieces will be around for generations!
Materials You’ll Need
Before you do anything, it’s essential to ensure you have all the necessary materials to clean your antique metal piece. Here is a general overview of what you’ll need.
Soft Cloth
A soft cloth is indispensable when cleaning up your antique metal piece. Microfiber cloths are ideal because they can sweep away dirt without leaving residue, so you don’t have to worry about accidentally scratching the antique metal!
Mild Dish Soap
You can gently clean any antique metal with mild dish soap. It’s the ideal choice! It won’t scour or scratch the piece but will cut through that grubby build-up.
Mix a few drops in warm water for a cleaning solution that removes stains without getting at the metal underneath. It’s an effective and easy cleaning solution!
Soft-Bristle Brush
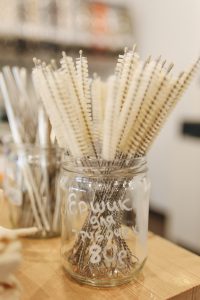
For tricky antique treasures with intricate grooves and details that tend to attract dust and dirt, you need a gentle brush with natural bristles to get into the hard-to-reach areas without damaging the piece. Needless to say, be extra careful with the brush.
Distilled Water
Distilled water is the best option for rinsing your antique metal and getting it sparkling clean.
Unlike tap, distilled water won’t leave spots behind or cause any chemical reactions since it’s mineral-free! In other words, no matter what type of antique metal you have, you can give it a good rinse with distilled water!
Baking Soda
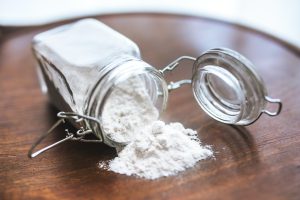
Baking soda is a potent, all-natural cleaner tough enough to tackle even the most stubborn stains and faded metal pieces. Add some water, and you’ll have an effective paste quickly. However, doing a patch test before using it on softer metals is essential.
Baking soda is effective but too abrasive for some delicate surfaces.
Metal Polish
After the grime is gone, give your antique metal an extra sparkle with a high-grade metal polish! These polishes smooth the micro-surface of your piece and make the light reflect evenly, giving it a gleaming, polished finish.
You must select a suitable polish for the metal, like brass, copper, or silver.
Brasso and Weiman Brass Polish are well-known for their quality. Safe to use on your brass items, these polishes will clean and shine them up in no time without doing any harm.
Wright’s Copper Cream and Bar Keepers Friend are the go-to choices for making copper sparkle. They can bring out the piece’s natural shine, refreshing any copper surface in no time.
If you want to revive the glam of your tarnished silver items, Goddard’s Silver Polish and Wright’s Silver Cream are your best bets.
Protective Gloves
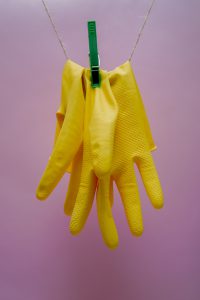
It goes without saying that protective gloves are essential. After all, you wouldn’t want any allergens or irritants from the cleaning products to get on your hands – not to mention any sharp edges on the antique metal piece!
Wax or Lacquer
After giving your metal pieces a good scrub and shine, adding an extra layer of protection is wise. Wax is often the go-to for indoor items. On the other hand, lacquer is best for outdoor use as it offers more strength against UV rays and moisture.
Mechanical Method: Using a Wire Brush
Here is a step-by-step guide for removing rust with a wire brush.
Safety First
Always protect yourself when cleaning antique metals with a wire brush. Put on your safety goggles because you don’t want any sharp particles getting into your eyes. Put on some durable work gloves, too, as you don’t want to get any scrapes or cuts on your hands from the wire brush or sharp edges of the metal item.
Initial Inspection
Do a super thorough check of the antique metal before diving into the cleaning part. Scan for any heavy-duty rust or decay and patched-up bits that might be too frail to handle harsh scrubbing. These will require extra special care and attention during cleaning. If there are delicate components, consider if you can clean these via other routes or if it’s better to let them be.
Gentle Brushing
Start by taking soft, careful strokes in one direction rather than back and forth. The goal here is to remove the superficial dirt and grime, not polish or scrub it. There’s no need for too much pressure or aggressive brushing, as this could harm the antique metal.
Care with Corners and Detailing
Look out for those pesky corners and crevices. They may be small but can take a real beating. Give them some extra attention with your wire brush. Use the edge to get into those nooks and crannies, but be gentle! Too much pressure could damage that delicate detailing. If the work is super intricate, switch it up with a toothbrush to be safe.
Rinse and Dry
Quickly rinse off any soap residue with some warm water, and don’t skip the all-important drying process! Use a soft, dry cloth to give the item a good pat down and get into those hard-to-reach spots. Don’t leave it out to air dry though, as that could result in dreaded water spots or rust.
Regular Maintenance
Regularly maintain your antique metal after giving it a good scrub! Whether it’s a light dusting every week or a gentle brush-up with the wire brush every couple of months, sticking to your maintenance plan will help keep your item spick-and-span, reducing how often you have to dive in for intense cleaning sessions.
Natural Method: Using Vinegar
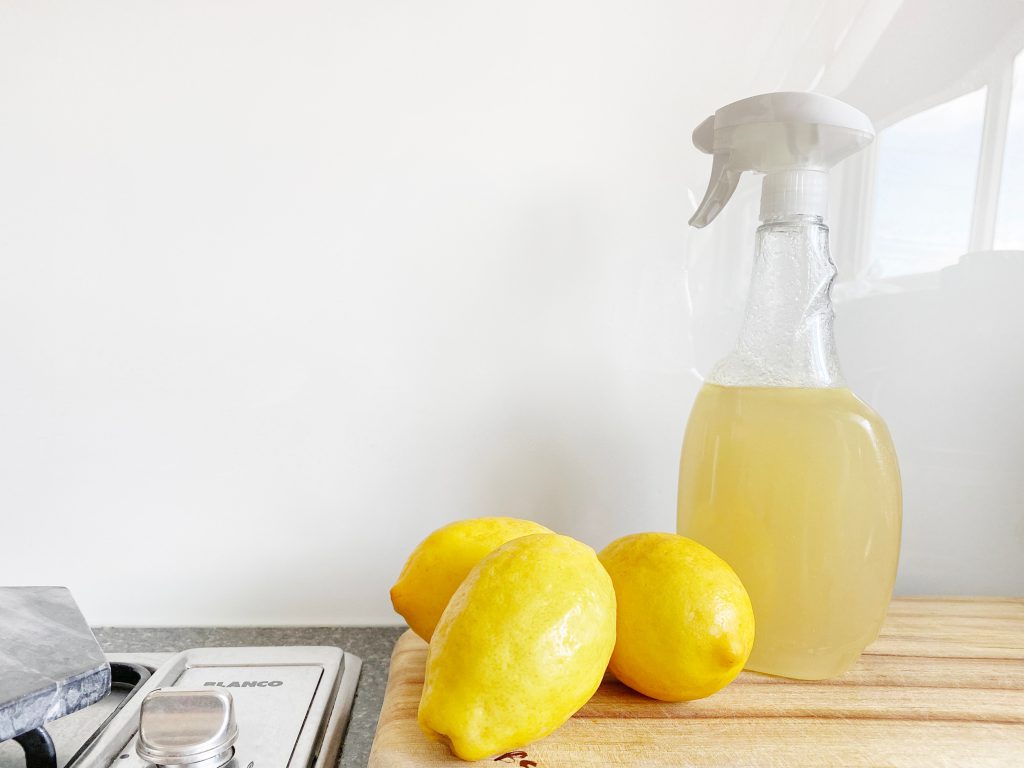
Here is what you need to do if you decide to use this popular DIY method to clean your antique metal.
Safety
Before you begin cleaning, your priority should be safety. Antique metal items have sharp edges that could easily cause cuts and scrapes.
Plus, though natural, vinegar could cause skin irritation after prolonged exposure. At the end of the day, a good pair of durable gloves is essential to protect your hands from any nasty accidents or skin discomfort.
Prepare Vinegar Solution
Mix equal parts of white vinegar and water in a large, non-reactive container or bowl for a powerful yet gentle cleaning solution. Ensure the container size is big enough for your antique metal item, too!
White vinegar is an excellent natural cleaner thanks to its mildly acidic properties, perfect for dispelling rust and tarnishes without being overly harsh on the metal.
Soak the Item
Put your antique metal item into the vinegar solution and let it sit for a few hours. If it’s heavily tarnished or rusty, you can soak it overnight. Don’t worry, the vinegar will work its magic, loosening up the muck so you don’t have to scrub too hard afterward.
Of course, be careful not to overdo it. Antique metals are delicate, which is why soaking them too long could do more harm than good!
Gentle Scrubbing
After basking in the vinegar bath, carefully lift the metal item from the solution. With a soft cloth or sponge, gently scrub enough to remove lingering dirt and rust without unsightly scratches.
Intricate detailing and remainders of grime? Not a problem. Reach for an extra-soft toothbrush instead. Its fine bristles allow you to target dirt with precision.
Optional Step: Baking Soda
If the item is heavily tarnished and the vinegar solution isn’t enough, you can take it up a notch by adding baking soda!
Make a paste with three parts baking soda to one part water and spread it over the affected area. Scrub gently with your cloth or toothbrush. After all, baking soda is a mild abrasive, so it can help knock out tough stains without damaging the metal.
Rinse and Dry
Once you’ve given it a thorough scrub, rinse your item with warm water. Don’t forget that this step is crucial!
Any leftover vinegar or baking soda should be gone. As soon as you’re done rinsing, take a soft cloth and pat it dry before the moisture has time to settle in. Get into all those crevices and grooves so nothing gets left behind. Leftover moisture can cause rust or corrosion further down the line.
Remember, don’t leave it out to air dry. That’s usually how those pesky water spots show up.
Maintenance
Remember to schedule regular maintenance. Dusting it regularly with a soft cloth will prevent dirt and grime from piling up, saving you a lot of time and effort in the future.
Depending on how much your item is exposed to wear and tear (and tarnish!), it might be worth to rinse it with vinegar every few months.
Baking Soda Method
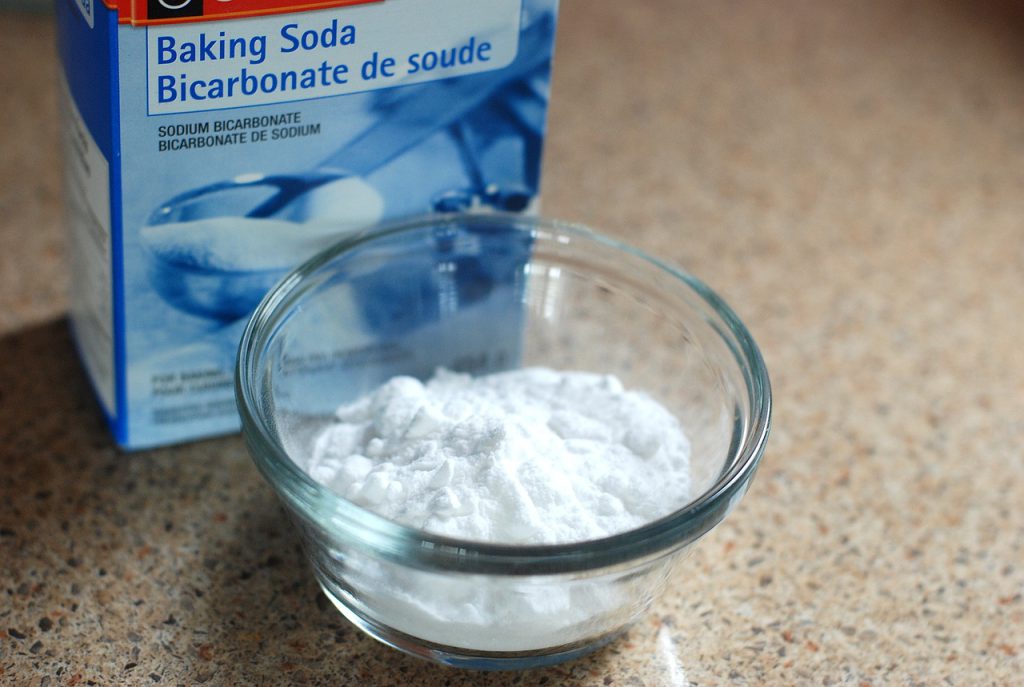
Baking soda is a well-known method for cleaning antique pieces, and antique metal is no exception. It’s critical, however, to be informed about the exact steps you should take when choosing this method.
Safety Measures
Once again, ensure you’ve got your protective gloves on. Wearing gloves when handling baking soda prevents dryness and irritation.
Prepare Baking Soda Paste
Get your baking soda ready to go! In a bowl, mix up three parts baking soda to one part water until you’ve got a paste-like consistency, similar to toothpaste!
Don’t worry if you need to adjust the ratio a bit; just make sure you’re not making it too watery. This baking soda paste will work on any stubborn grime, rust, or tarnish on your metals without damaging the piece.
Apply the Paste
Gently slather the baking soda paste over your antique metal item with a soft cloth or sponge. Coat the object’s entire surface evenly and spend extra time on those tarnished and dingy parts.
Don’t attempt to scour yet. Just add a thin layer of the paste so it has time to work its magic on the dirt and rust.
Let it Sit
Now that you’ve slathered the piece with baking soda paste let it marinate for a few hours. The baking soda needs this time to react with the dirt and corrosion, causing these particles to break away from the metal’s exterior. If your item is badly tarnished, let it soak overnight.
Gentle Scrubbing
After letting the paste sit, grab your soft cloth or sponge and work it in with a circular motion all over the metal. If you spot any details or spots caked with grime, try using a toothbrush with soft bristles to get inside those nooks and crannies. But go slow, the idea here is to get rid of the dirt without scratching or damaging the antique metal.
Wash and dry
Once you’ve given that item a good scrub, the next step is to rinse it off with warm water. This will eliminate all that baking soda paste and every little bit of dirt and tarnish.
After rinsing, quickly give it a pat down with a soft, dry cloth. This step is crucial for getting rid of every drop of moisture because it causes corrosion. Don’t do air drying either, as this could result in water spots or rust.
Regular Maintenance
Now that your precious antique metal piece is sparkling clean, it’s time to keep it looking brand new! A regular dusting session using a soft cloth can help maintain its freshness. For those pesky marks and tarnish that appear quicker than we’d like, consider repeating the baking soda-water cleaning routine every few months.
Commercial Rust Remover
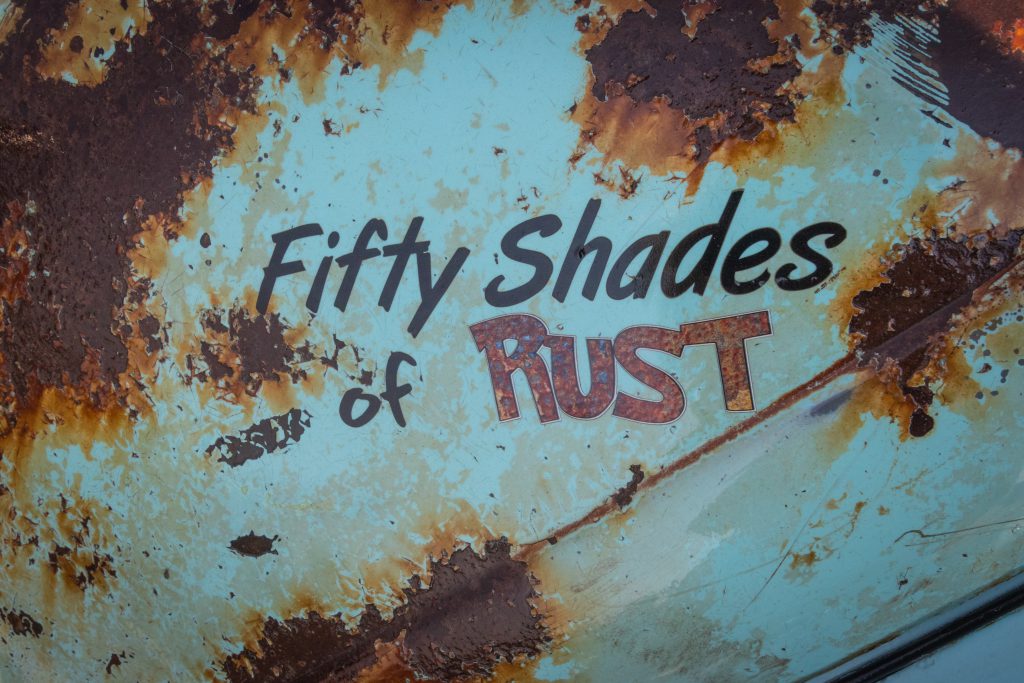
If you choose a commercial product to remove rust, follow the steps outlined below.
Measures Before Cleaning
Don’t forget to equip yourself with the proper gear before starting. Slip on some rubber gloves and grab your eye protection. The chemicals in commercial rust removers can be incredibly harmful if they come into contact with your skin or eyes. So, no matter what, ensure you’re fully ready before diving into the cleaning process – better safe than sorry!
Reading Instructions
Before you reach for that rust remover, read the instructions first!
All products have different directions (dilution, application, and reaction time), so carefully reviewing everything is important. That way, you can use the rust remover safely and get maximum results.
Don’t skip this step, as it could mean the difference between making your piece shine or ending up with bigger problems.
Prepare the Solution
Before you start rust removal, double-check the instructions on the product. Some should be diluted with water, while others can be used as is.
Application
Slather on some rust remover to the affected areas. But if it’s too far gone, you may have to fully submerge your piece in a basin filled with the rust-fighting solution.
For minor infestations or particular trouble spots, dip a soft cloth in the solution and give it a good scrub.
Waiting Time
After following the directions on the bottle, make sure you nail the timing to remove rust entirely. Depending on how bad the rust is and which product you’re using, it could take a few minutes to hours.
Scrubbing
After the rust remover has had a chance to do its job, you should take a soft-bristle brush and give it a light scrub. Doing so can help remove rust bits still hanging around. Just be careful not to scratch the metal surface while at it!
Rinse and Wash
Give it a good rinse with warm water to remove any trace of the rust remover. Then follow up with a mild dish soap wash to ensure you got all the chemical residue out.
Drying
Wring out the item with a couple of towels until it’s fully dry. Moisture is not allowed, as any leftover drops could get that rusting process going again in no time!
Preventative Maintenance
It’s essential to keep on top of regular maintenance once your item is shiny and squeaky clean. Store it in a nice dry spot, where moisture won’t be a problem, and don’t forget to dust it every so often – that way, you’re safeguarding it against rust in the future.
Professional Antique Metal Cleaning
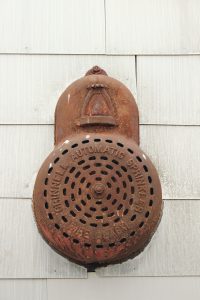
Experienced conservators and restoration specialists know the ropes when cleaning antique metal items. Their advanced techniques and specialized tools mean they won’t compromise their historical integrity while restoring these valuable items to their former glory. The process typically begins with an assessment before moving on to cleaning and even minor restoration work.
Plus, professionals advise so proper care can be taken for future maintenance. This kind of assistance can be valuable if you don’t want to risk ruining your antique metal or if the piece is too damaged for DIY repair.
Steps for Professional Cleaning of Antique Metal
A thorough assessment is needed to determine the best way to clean an item. Professionals will have to look closer at what type of metal it is, if there’s dirt or rust present, and any delicate areas needing special attention.
Once the pro has their assessment, they’ll get right to work, giving your item a good clean! They can use various professional methods, from ultrasonic cleaners with high-grade cleaning power to non-abrasive chemical cleaners, whichever best suits the item while retaining its original look.
For bigger jobs requiring more extensive restoration or repair work, you’ll need to look into getting additional services.
Choosing the Right Professional Cleaning Service
When searching for a top-notch cleaning service to get your antique metal items looking their best, remember a few things. After all, you don’t want to risk damage or tarnishing! So, take your time and weigh up the following:
- Experience and expertise.
Looking for pros who know the ins and outs of antique metal cleaning and restoration is essential. They need a solid grasp of the different metal types and what it takes to keep them in great shape.
- Reviews and recommendations.
Trustworthy reviews and recommendations are a great way to get the scoop on a company’s quality of service and reliability. Look online or ask around your family, friends – whomever you trust – for their two cents.
- Consultation and quote.
Consulting and getting a quote from an experienced pro is always smart. Take this chance to quiz them about their cleaning methods and whether they can accommodate your specific needs. See if they can measure up – after all, you’ve got to be sure that you’re getting the best treatment for your item!
Conclusion
Giving essential cleaning to antiques made of metal is key to preserving their beauty, historical worth, and structural soundness. Whether using natural ingredients like vinegar and baking soda, giving mechanical methods a go, investing in commercial rust removers, or relying on pro cleaners – each approach can help you achieve this goal.

Leave a Reply