
Hey there, antique aficionados! Did you recently snag a cool old wooden furniture piece from a thrift store but don’t know how to bring it back to life?
We’re here to help. Restoring antique wood furniture can be a fun and rewarding experience, even if you’re not a professional. In fact, with a little bit of elbow grease and some handy tips, you can give that piece a new lease on life.
Let’s dive in and get started.
The Importance of Restoring Antique Furniture
Antique wood furniture isn’t just a decor piece — it’s a treasure trove of memories. These pieces have been around for ages and have probably seen it all. Maybe your great-grandmother used it to host her famous tea parties, or your ancestors gathered around it to celebrate special occasions. These connections make antique furniture irreplaceable and priceless.
But antiques will show signs of damage and old age over time. That’s where wood restoration comes in. Restoring these pieces allows you to preserve their unique history for future generations. Plus, if you’re looking to sell or pass on the furniture, restoring it will increase its financial value.
So, before we explore all the different restoration methods, let’s start by understanding how wood gets damaged. This knowledge will help you choose a restoration method and prevent future deterioration.
Dangers to Avoid
Wood furniture is affected mainly by changes in the environment, as well as abrasive cleaning products. Here’s everything you need to watch out for.
- Sun damage
Exposure to direct sunlight causes severe damage to your furniture. For instance, exposing the furniture piece to the sun will make the wood lose color, dry out, split, or even crack. So, ensure your furniture isn’t exposed to direct sunlight.
- High humidity and temperature change
Humidity and abrupt temperature changes cause the wood to expand and contract, leading to cracks and splits. So, maintain a stable environment in the room, keep furniture away from heat or moisture sources, and give them a little love with a protective finish like wax or oil.
- Accidental damage
Mishandling or accidental damage causes scratches and dents that take away from the beauty of your furniture. Spills, scratches, bumps, and falls — you name it, wooden furniture is vulnerable to it! So handle it carefully, use coasters and placemats, and never drag or push it around.
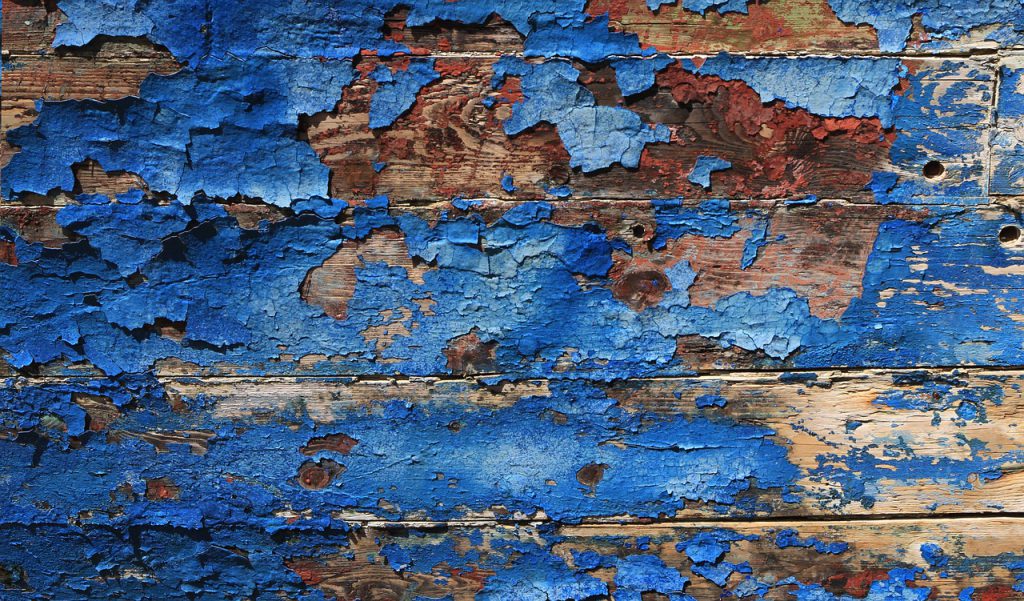
- Water damage
Water and wood do not go well together. Water damage may lead to warping, discoloration, and even mold growth. So, keep your antique wood furniture away from water and moist environments.
- Infestation damage
Insect infestation is a real danger to your antique furniture. Termites, beetles, and other critters can chow down on the wood, causing holes and weakened structural integrity. So keep your wood dry and well-ventilated. Also, schedule regular inspections and quickly deal with infestations to prevent further damage.
- Harsh chemicals or abrasive cleaners
Harsh chemicals may seem like they are getting the job done, but these cleaners cause more harm than good to your precious furniture piece. They can strip the protective coating, exposing your wood to scratches, discoloration, and warping. Plus, some cleaners have acids or alkalis that may erode the wood fibers, making the surface rough and uneven.
But don’t worry. You’re able to prevent all this damage by choosing the right cleaning products for your specific type of wood. Always read the labels carefully and pick cleaners safe for antique wood surfaces. And if you’re not sure, test the cleaner on a small, hidden area before going all in.
Damage Types
Now that you know what dangers to avoid and how they may damage wood furniture, let’s explore the types of damages and how easily fixable they are.
First thing first, let’s talk about scratches. Pesky marks range from a tiny surface scratch to a deep gouge. Fortunately, you can quickly fix light scratches with a furniture pen. For deeper scratches, you’ll need to sand and refinish the wood.
Next up, we’ve got cracks. These can occur when the wood dries and shrinks over time, weakening your furniture’s structure. Small cracks can be filled with wood filler, while wood glue is a better fit for bigger ones. If none of these solutions fix the problem, it’s best to seek help from professional restoration services.
Water and moisture lead to mold growth and overall stains. If the water damage has already occurred, it’s wiser to call the professionals to restore it to its original beauty, as drying it improperly may lead to cracks.
Warping is also a problem. When the wood expands or contracts unevenly, furniture becomes misshapen or unstable. Once again, professional reparation is the best choice against warping. Fixing warping requires specialized knowledge and equipment that only professionals have. Professional furniture restorers are experts in identifying the cause of warping and applying the appropriate fix. If you do it yourself, you could end up making things worse or causing further damage to your beloved antique wood.
On top of everything, some methods used to fix warping involve high heat or chemicals, which can be dangerous if not handled properly.
And last but not least, we’ve got insect damage. Infestation from termites and beetles may lead to severe structural damage by burrowing into the wood. If you suspect insect damage, it’s vital to seek professional extermination. After this, restoration services may help prevent further damage.
Tools to Use
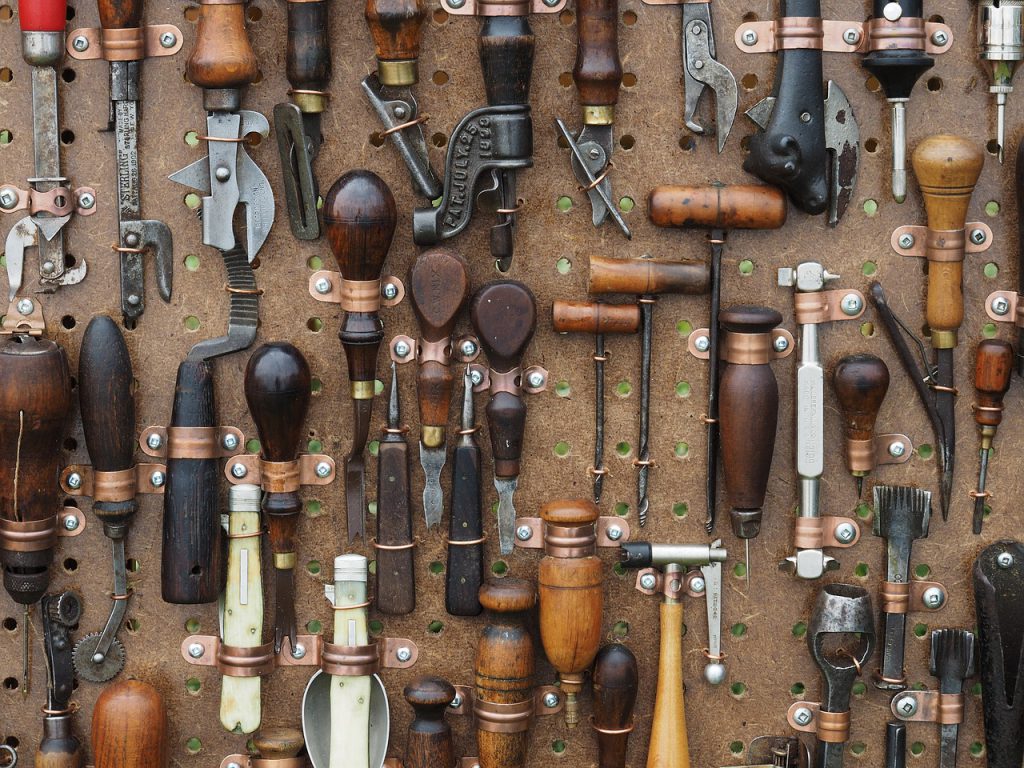
If you’ve decided to restore your antique wood furniture on your own, here are some tools and supplies you’ll need to keep at hand.
- Soft, fluffy cloths
- A mild cleaning solution (because abrasive and strong cleaners damage antique furniture)
- Wood filler (to fix scratches and dents)
- Wood glue (for severe cracks and splits)
- Clamps (to stick together repairs)
- Fine-grit sandpaper (to smooth uneven surfaces)
- Tack cloth (to wipe away pesky dust)
- Wood stain (to bring out the natural beauty of the wood)
- Clear varnish or polyurethane (to protect the surface from future damage)
- Brush or Sprayer (depending on your preferred method of application)
Restoring Methods
The first step is knowing which tools to use, while the second step is figuring out when and for what to use them. Here’s an overview of different methods and options for restoring wood.
- Basic Cleaning
Before you do anything else, grab a soft cloth and a mild cleaning solution to remove all the dirt, dust, and grime. With this step, you’ll expose the wood and see how much it’s damaged.
- Repairing
When your furniture needs extra attention, wooden filler or glue comes into play. Don’t forget the clumps to hold everything in place while the glue dries.
Antique wood repair involves checking the damage and picking the proper repair method based on the wood type and damage level. For example, you can fix maple and oak with wood fillers or epoxy putty, while mahogany requires a veneer or Dutchman patches. Water damage is repaired by bleaching and refinishing, while you’ll fix scratches and dents with sanding and wood putty.
The restoring method depends on the damage extent, as well as the repair complexity.
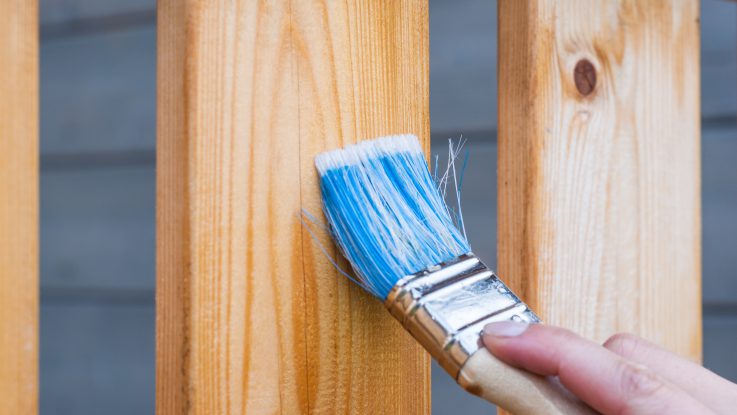
- Refinishing
Refinishing is the perfect method if you love showing off your artsy side. Refinishing wood furniture means removing the old finish and putting on a new one to make it look fresh and protect it from future damage.
With refinishing, you’re also able to change the color and finish of your antique wood furniture. Of course, you have to make sure you clean and fix any issues before you start refinishing. Only then you can get down to business with sanding, using chemicals to strip it down, or even a heat gun.
Sand the furniture’s surface, apply a wood stain to bring out the natural grain, and add a clear topcoat to protect the surface from future damage.
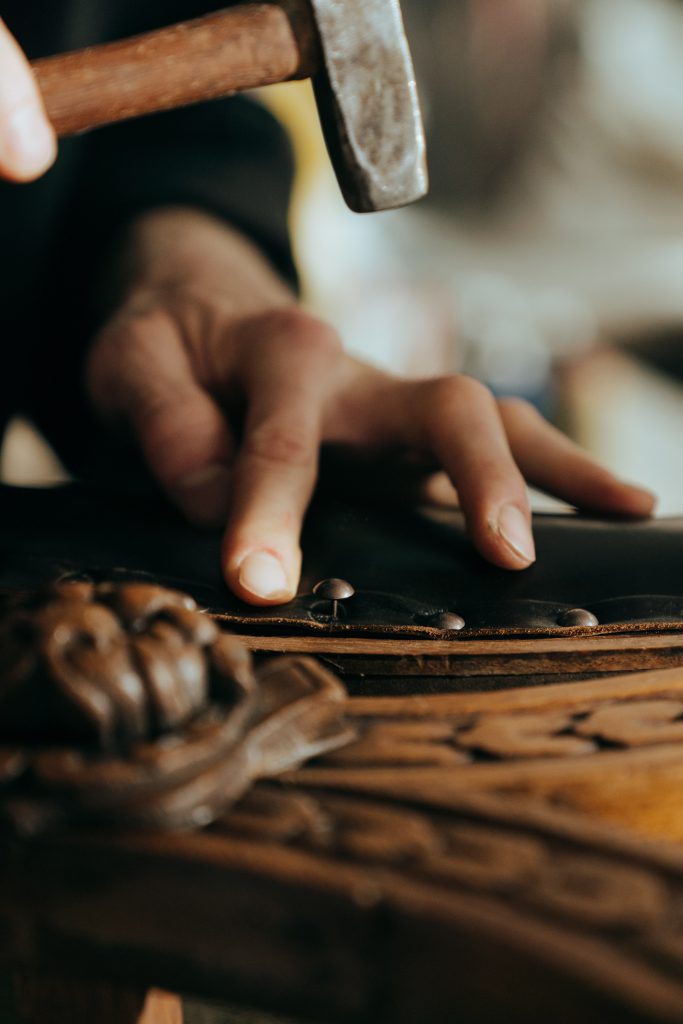
- Reupholstering
If your antique furniture has upholstered areas, you may need reupholstering, which means it’s time to take out the sewing kit and replace the old fabric and padding with new material.
Reupholstering gives your furniture a new look and provides extra comfort and support. And don’t worry — reupholstering is suitable for antique wood furniture. The piece will benefit from reupholstering. You’ll bring back its former glory and make it more functional.
But you need to know something before tearing off the old fabric. Reupholstering antique furniture decreases its value if not done correctly. Likewise, using new materials and changing the original design can affect its historical and monetary worth. So it’s best to consult a professional appraiser or antique dealer before making any change to determine the suitable materials.
- Reconstruction
For antique furniture with severe damage, you need to put your handy hat on. You might need to reconstruct damaged areas and restore the furniture’s original structure. It’s like a mini renovation project.
Reconstruction is a process used when the damage to your furniture is too severe to fix with refinishing or reupholstering. We’re talking about significant structural damage, missing or broken pieces, or damage from a fire or flood.
But here’s the catch: reconstruction should always be done by a skilled professional who knows how to restore antique furniture. After all, you don’t want to risk messing up the piece and ruining its value.
Wood Types
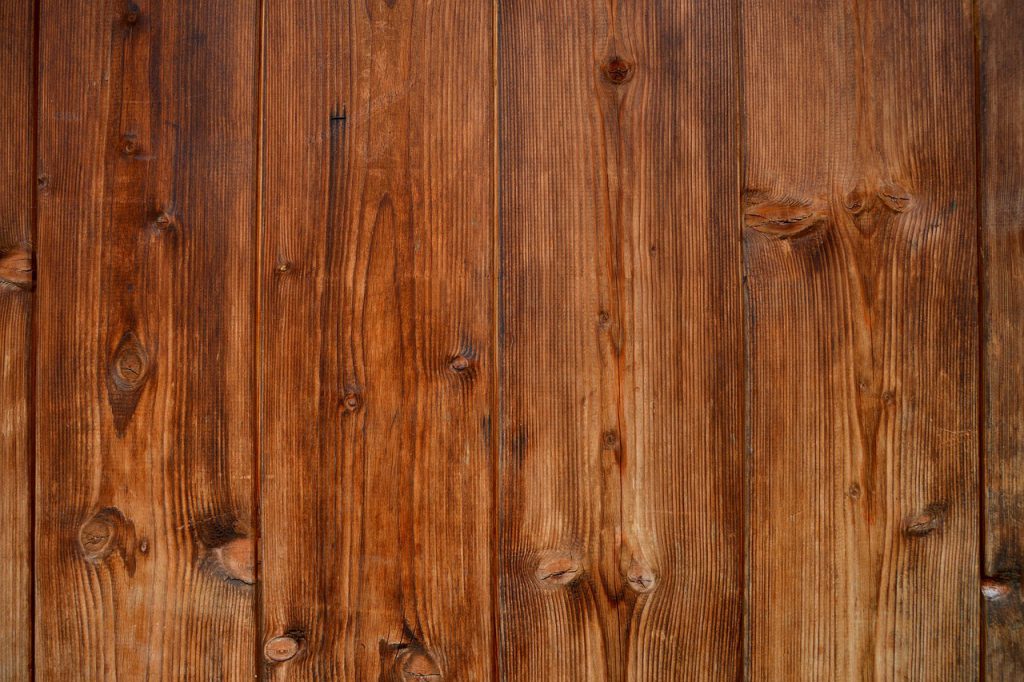
Successful restoration depends on identifying the wood used in the furniture. There are various ways to unlock this secret, including examining the grain pattern, color, and texture.
First, take a closer look at the grain pattern of the wood. Is it bold and prominent or subtle and refined? Some woods, like oak, have a distinct grain pattern with visible growth rings, while others, like maple, have a more subtle pattern with fine lines.
Second, examine the wood’s color because it indicates its identity. From light to dark, different types of wood have very distinctive natural colors giving them away. For example, cherry wood has a reddish-brown color, while maple wood has a pale, creamy color ranging from off-white to light brown.
Finally, the texture of the wood also offers hints about its type. Do you feel a smooth and even texture or a rough and uneven texture? Teak wood, for example, has a smooth and even texture, while pine is more uneven, with visible knots.
Of course, identifying some types of wood can be tricky, especially if they’ve been stained or painted over. So, when in doubt, don’t hesitate to call a professional restorer to accurately identify the antique wood.
Restoring Methods for Different Wood Types
Once you have identified the wood type, you can choose the best restoration method for antique and fragile wood.
For instance, if you’re working with oak, fear not! This durable wood can handle sanding and refinishing. Use a wood filler and sandpaper to smooth out scratches and dents, and finish off with a stain or transparent finish that accentuates its natural color.
Mahogany, on the other hand, requires a more gentle approach. First, clean it with a soft cloth and mild soap, then use a wood filler and sandpaper to even out any imperfections. A clear finish will bring out its natural beauty without causing harm.
Pine may be a softwood, but it also deserves TLC during restoration. Steer clear of harsh chemicals and sandpaper that could damage it. Instead, use fine-grit sandpaper to gently smooth out scratches and dents before applying a stain or finish.
Cherry wood may darken over time, but that doesn’t mean you can’t restore it! Start by cleaning it with a soft cloth and mild soap, then use fine-grit sandpaper to even out any scratches or dents. Finally, protect its natural beauty with a clear finish.
DIY Miracle – Epoxy Putty
Epoxy putty is a popular DIY solution that works wonders for antique wood furniture.
This magical two-part material is made of a resin and hardener that, when combined, creates a super strong and durable substance able to fill in gaps and cracks in the wood. It’s like a superhero for antique wood furniture repairs.
The first step in using epoxy putty is to clean damaged areas. Bust out your soft cloth or brush and scrub it well to ensure it’s free of dirt or debris.
Now it’s time to mix the epoxy putty. Follow the instructions on the package to ensure the perfect consistency and mixing ratio. Once it’s ready to go, use a putty knife or other tool on the damaged area.
Take your time and work carefully to fill all the gaps and cracks evenly. Once the putty is in place, give it time to dry and cure according to the instructions. This usually takes a few hours, but you may need to leave it overnight, so be patient.
When the putty is thoroughly dried, it’s time to sand and smooth it down to match the surrounding wood. Be careful not to sand too much, damage the wood, or remove too much putty.
While epoxy putty is an excellent option for small to medium-sized repairs, remember that it may not be suitable for all damages. It’s best to consult with a professional restorer for more complex repairs.
DIY VS Professional Repair
DIY restoration can be a total blast, but before sanding down your antique furniture, stop and think about whether you’re up for the challenge. Pros have the skills and tools needed to do the job right, and while it may cost more, it’s worth ensuring that your furniture stays in great shape for years to come.
Going the DIY route may seem like a cheaper option, but trust us, a botched restoration job can cost you more in the long run. In addition, some restoration tasks need a professional’s touch, especially when it comes to tricky things like repairing structural damage or carving intricate details. So, if you’re unsure what you’re doing, it’s best to call a professional to handle the job.
But if you’re confident, plenty of antique wood furniture restoration resources are available online. For instance, our next section will share a brief guide to get you started. However, if you want to deepen your knowledge on these topics, online classes, YouTube tutorials, and DIY forums will help you learn the needed skills for your next project. Just remember to take it slow, have fun, and don’t be afraid to ask for help if you need it.
Step-by-Step Guide
Let’s explore what the general process of restoring antique wood furniture entails.
Step 1: Check Out the Damage
The process of restoration begins with you carefully inspecting your antique furniture for damage. First, check for scratches, dents, cracks, and discoloration. Next, figure out whether the damage is structural or cosmetic. Structural damage may be a professional’s job, but DIY enthusiasts can usually handle cosmetic issues at home.
Step 2: Scrub Away the Dirt
Now that you know what you’re working with, it’s time to start cleaning. Use gentle cleaning solutions and a soft cloth to remove dirt, dust, or grime on the surface. Skip the harsh chemicals; you don’t want to damage the wood’s finish.
Step 3: Repair the Damage
Once the surface is sparkling clean, it’s time to repair the damage. Woodworking is like a box of chocolates; you never know what you’ll get. Fixing antique wood is a whole process and depends on what kind of wood and damage you’re dealing with.
You can fix maple and oak with wood fillers or epoxy, but mahogany is more delicate and may need veneer repairs or Dutchman patches. If you’re dealing with water damage, bleaching and refinishing might be necessary. And for scratches and dents, sanding and filling with wood putty can do the trick.
Step 4: Finish It off in Style
Once you repair your wood furniture, it’s time to improve its aesthetics. Start by sanding the surface with fine-grit sandpaper to remove old finishes and imperfections. Next, use a tack cloth to get rid of dust.
Then, add a wood stain that matches the original finish or complement’s the wood’s natural grain. Apply it with a soft cloth, and let it dry completely before applying the topcoat.
Step 5: Protect Your Hard Work
Antique furniture restoration is a long process, but you’re almost there. First, apply a clear varnish or polyurethane to protect the surface from future damage. Apply it with a bush or sprayer, following the wood’s grain. Then, once it’s dry, your antique furniture will look as good as new.
Step 6: Focus on Maintenance
Avoid exposure to direct sunlight, high humidity, and temperature fluctuations to keep your restored furniture looking its best. Use coasters or placemats to prevent scratches and stains. Regularly dust with a soft cloth, and avoid abrasive sponges and harsh cleaners.
Conclusion
Remember, restoring furniture involves patience, attention to detail, and a love for the craft. Don’t rush the process, and take time to enjoy the journey of bringing an old furniture piece back to life.
You may even discover a new hobby or a passion for woodworking.
Leave a Reply